

So you have built a shiny Java library and want to share it with the world? For free? Want to have it as easily installable as all the other libraries you have in your pom.xml only you have no clue how to do that? Well, you just hit the right page.
In this article, I will show you the quickest way to publish a Java library to Maven Central. Maven Central is the standard repository that hosts all major Java libraries. It is not only the standard repository for Maven but also for Gradle, Ivy, Leiningen and more.
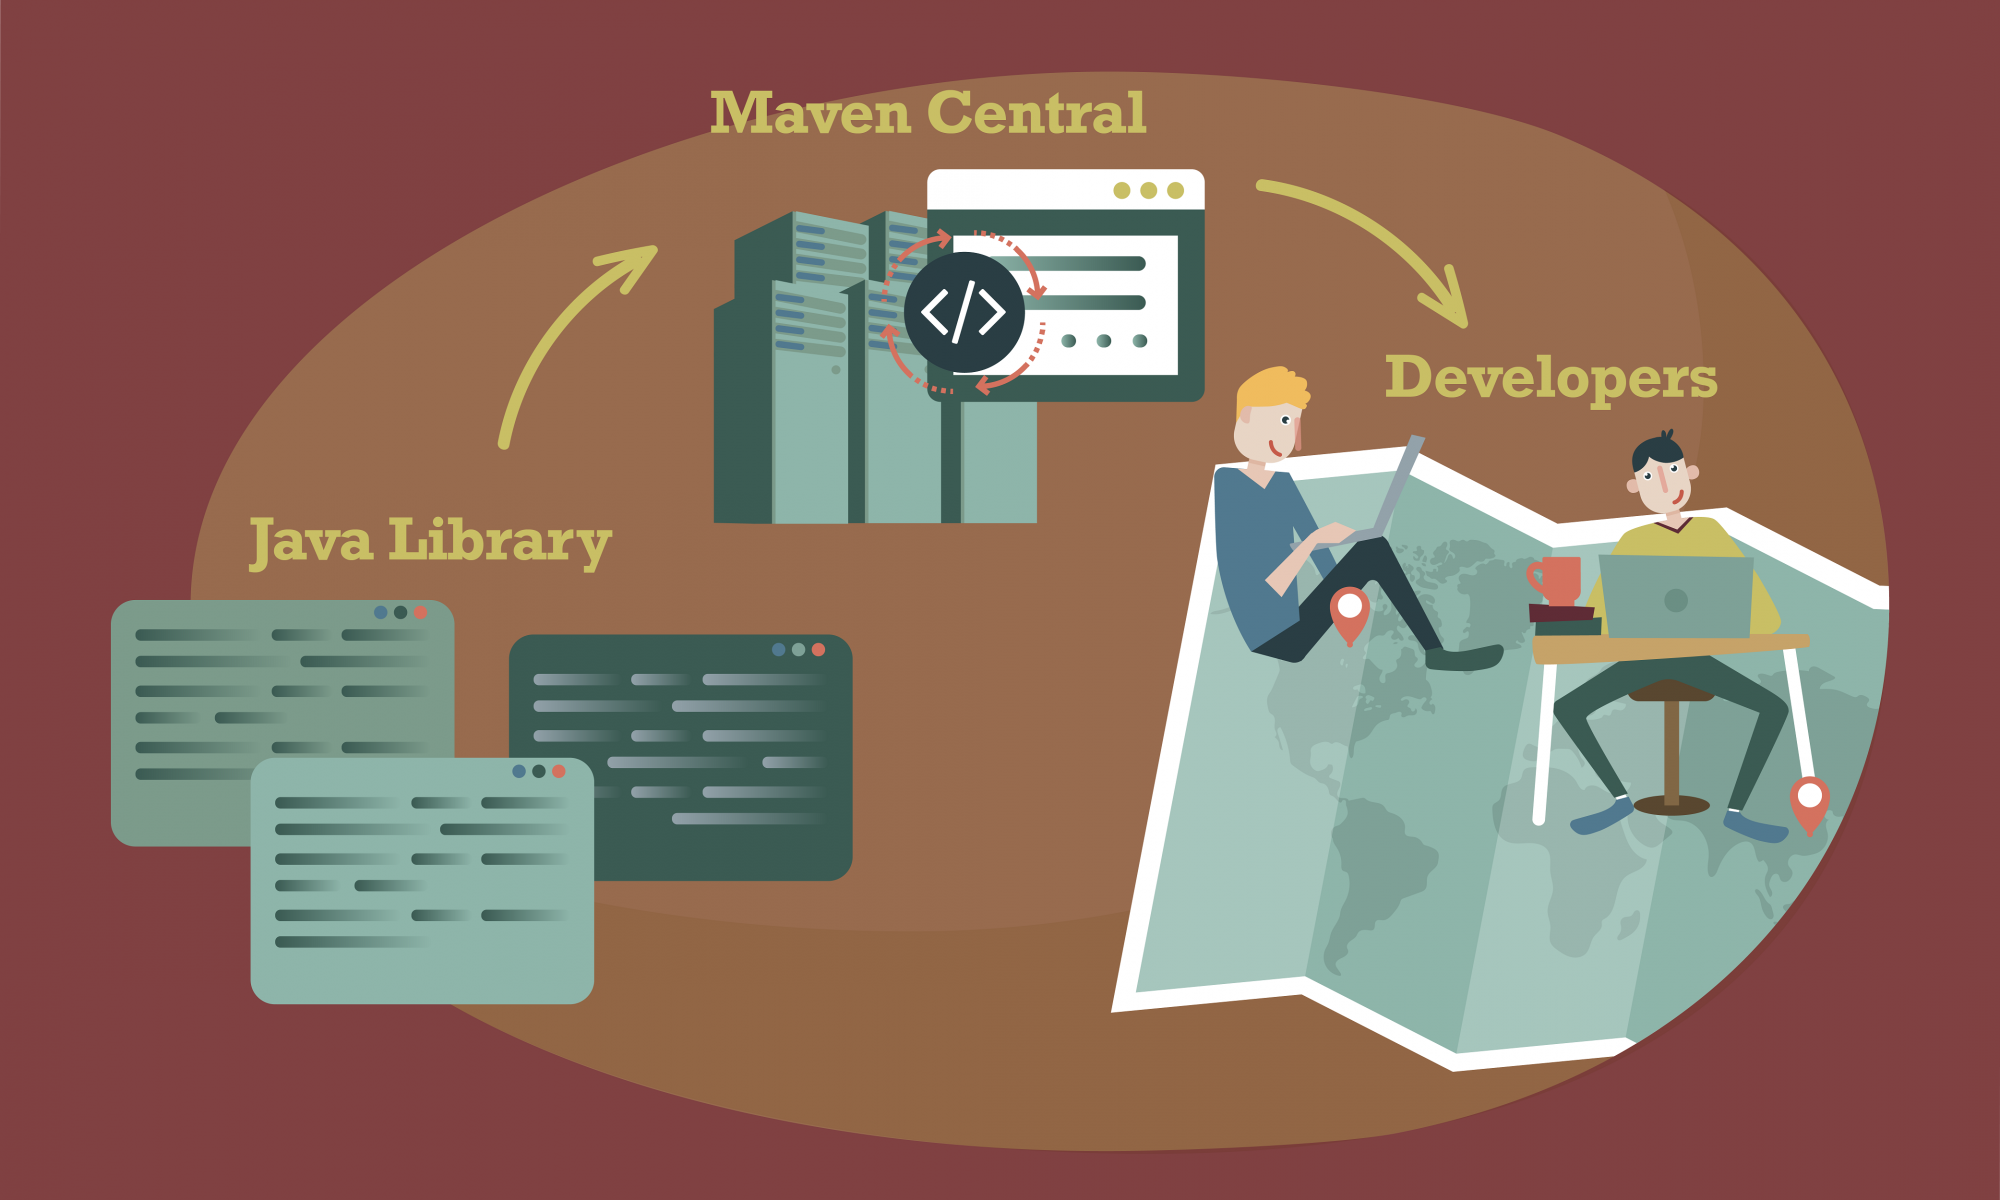
The following drawing shows everything it takes to publish a library to Maven Central.
Suppose you have a library called `superlib` that you want to publish to Maven Central. The “hardest” parts are the initial sign up for a user account and “pressing the release button”. You can automate everything else. Let’s get started!
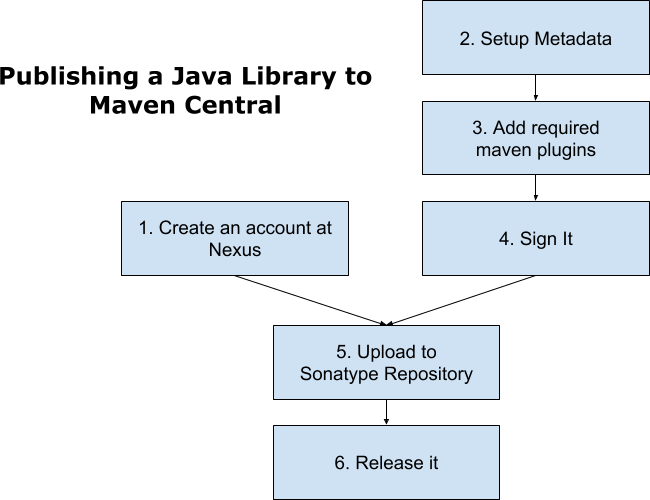
Create an account at Nexus
You cannot upload a library directly to Maven Central. Therefore, you have to use a repository syncs to it on a regular basis.
The company Sonatype provides a free repository for Open Source libraries. A great service for the Open Source community, it also introduces Sonatype’s commercial repository software, Nexus, to developers.
The first thing to do is register for a Nexus account. This is done in a very pragmatic way: Simply enter your information in Sonatype’s JIRA-based ticketing system.
The only thing you need to provide is the package name which should be reverse DNS. So if you or your company already have a website, then you should use the reverse name of that website.
In my case, it is https://www.rainerhahnekamp.com. The reverse DNS, and therefore the package name, we will use in our example will be com.rainerhahnekamp.
Setup Metadata
Next, you set the groupId, artifactId and version. The groupId must have the same package name, that you registered at Sonatype. In our case, that would be com.rainerhahnekamp. The artifactId would be superlib and we set the version to 1.0.
Furthermore, you have to add metadata that quotes the developers, the licence and your git repository.
If you don‘t favour or require a particular OS licence, I would suggest the MIT License. It has the fewest restrictions. This increases the probability of your library’s use by companies as their legal department would not object to it.
So our pom.xml with metadata looks like this:
<?xml version="1.0" encoding="UTF-8"?>
<project xmlns="http://maven.apache.org/POM/4.0.0" xmlns:xsi="http://www.w3.org/2001/XMLSchema-instance" xsi:schemaLocation="http://maven.apache.org/POM/4.0.0 http://maven.apache.org/xsd/maven-4.0.0.xsd">
  <modelVersion>4.0.0</modelVersion>
  <groupId>com.rainerhahnekamp</groupId>
  <artifactId>superlib</artifactId>
  <version>1.0</version>
  <packaging>jar</packaging>
  <name>SuperLib</name>
  <description>Blueprint project for Java libraries to be published on Maven Central</description>
  <url>https://github.com/rainerhahnekamp/superlib</url>
  <developers>
    <developer>
      <name>Rainer Hahnekamp</name>
      <email>[email protected]</email>
      <url>https://www.rainerhahnekamp.com/</url>
    </developer>
  </developers>
  <licenses>
    <license>
      <name>MIT License</name>
      <url>http://www.opensource.org/licenses/mit-license.php</url>
      <distribution>repo</distribution>
    </license>
  </licenses>
  <scm>
    <url>https://github.com/rainerhahnekamp/superlib</url>
    <connection>scm:git:[email protected]:rainerhahnekamp/superlib.git</connection>
    <developerConnection>scm:git:[email protected]:rainerhahnekamp/superlib.git</developerConnection>
  </scm>
  <properties>
    <java.version>1.8</java.version>
    <project.build.sourceEncoding>UTF-8</project.build.sourceEncoding>
    <project.reporting.outputEncoding>UTF-8</project.reporting.outputEncoding>
  </properties>
</project>
Add requires Maven Plugins
In the next step you have to add Javadoc and the source code to the package to be released. Maven plugins automise theses tasks for us.
Since you want to create Javadoc and the source code packages only when you publish, you create a profile called release and include the plugins there:
<profiles>
  <profile>
    <id>release</id>
    <distributionManagement>
      <repository>
        <id>ossrh</id>
        <url>https://oss.sonatype.org/service/local/staging/deploy/maven2/</url>
      </repository>
    </distributionManagement>
    <build>
      <plugins>
        <plugin>
          <groupId>org.apache.maven.plugins</groupId>
          <artifactId>maven-source-plugin</artifactId>
          <version>3.0.1</version>
          <executions>
            <execution>
              <id>attach-sources</id>
              <goals>
                <goal>jar-no-fork</goal>
              </goals>
            </execution>
          </executions>
        </plugin>
        <plugin>
          <groupId>org.apache.maven.plugins</groupId>
          <artifactId>maven-javadoc-plugin</artifactId>
          <version>3.0.0</version>
          <executions>
            <execution>
              <id>attach-javadocs</id>
              <goals>
                <goal>jar</goal>
              </goals>
            </execution>
          </executions>
        </plugin>
      </plugins>
    </build>
  </profile>
</profiles>
Sign it
You have to digitally sign your library. This sounds complicated, especially if you don’t have a signature yet, but it’s actually very easy.
First, you have to create your key-pair by using gpg2. On Ubuntu you have to install the package gnupgp. Make sure you are running version 2 by executing gpg --version. The keypair can be created via gpg --gen-key. You will be asked for your name and email … and that’s it already.
Add the required maven plugin to our release profile by adding following code:
<plugin>
  <groupId>org.apache.maven.plugins</groupId>
  <artifactId>maven-gpg-plugin</artifactId>
  <version>1.5</version>
  <executions>
    <execution>
      <id>sign-artifacts</id>
      <phase>verify</phase>
      <goals>
        <goal>sign</goal>
      </goals>
    </execution>
  </executions>
</plugin>
The actual signing takes place, when we release and upload our library to Nexus.
Uploading to Sonatype Repository
If everything is setup accordingly, the next step is the actual upload. Simply execute ./mvnw -Prelease deploy. At the end of the build you have to type in your password for your gpg key.
Publishing
Finally, login to https://oss.sonatype.org, search for your uploaded library in the staged repositories and close it:
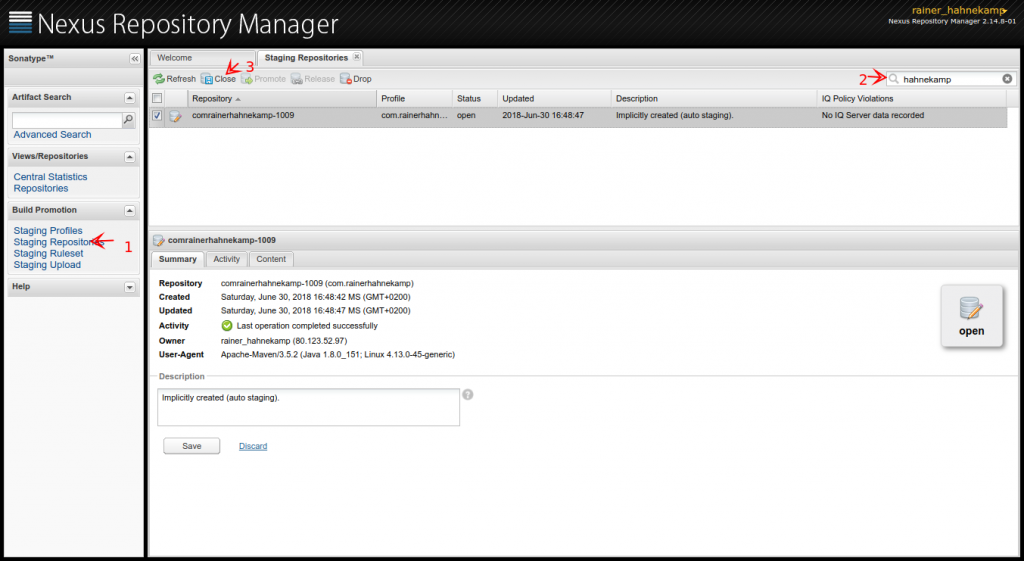
Now the final checks are running and after some moments you can release your library to world by clicking on the “Release” button. It can take some hours until you see your library pop up on Maven Central.
Congratulations you have just published your first library.
Please note: The source code for superlib is available on GitHub.


Hi,
Nice tutorial. Thanks for writing. However I think you missed the part about providing sonatype info in maven settings.xml.